 Download Complete Project 305k | .zip file
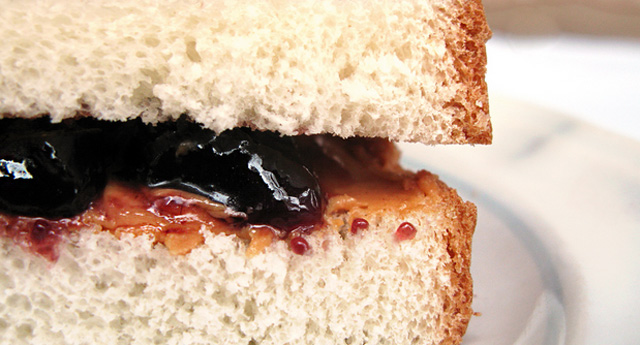
Do you have a favorite recipe that you want to share with the world? With this project we will use code to write a recipe that looks as good as it tastes.
A great project for: Foodies, chefs, sandwich aficionados, and anyone looking to learn the basics of web design and Coder.
Welcome to Coder Projects! Hopefully, you’ve already downloaded and installed Coder for Raspberry Pi. If you haven’t (or aren’t sure what Coder is) you can read about it here: http://goo.gl/coder. There’s even a quick project to get you up and running if you need a little more help.
This project will help you get started with Coder for Raspberry Pi. From plugging in your Pi to creating your first app.
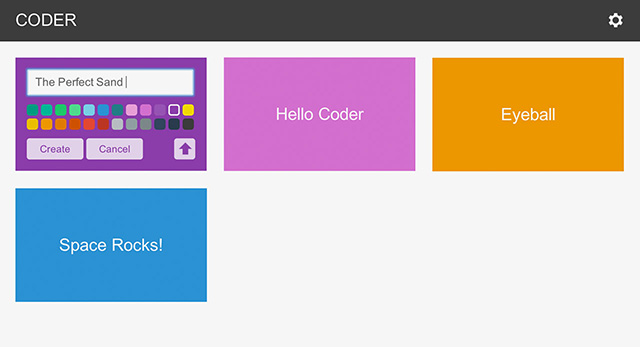
Our very first step will be to create a new Coder App. On the main Coder page you will see a grid of boxes with names on them. These are projects (also called apps), and there are a few that come pre-installed on Coder. Some of them are simple (like Hello Coder) and can help you become more familiar with the program. Others are more sophisticated (like Space Rocks!) and show the potential of what you can build. But you can take a look at those anytime. Let’s make our own program!
Now we’re going to take a look around our new app. All Coder projects have the same tabs and features so let’s take a second to familiarize ourselves with them.
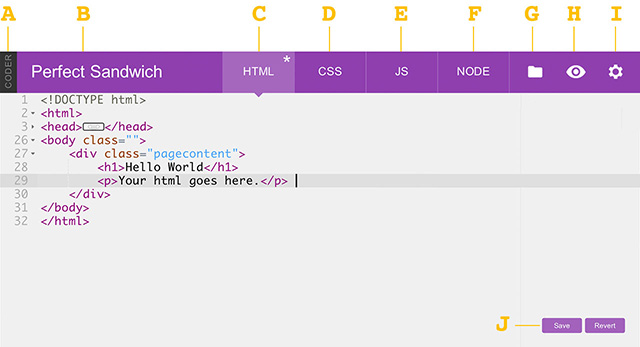
Code View
When you begin a new project you start in the “Code View” of Coder. What we’re looking at is the source code for our new web project, the behind-the-scenes stuff of all coder projects.
Now that we know a little bit about what’s under the hood let’s take a look at what our project looks like right now. Click the project name to see our site.
Browser View
Now this what our project looks like to other people. This is what the code in the other view is making. There’s also some things here to be aware of, as well.
Now that we know our way around let’s start coding! All Coder projects start with a little bit of code already in them so let’s use what’s there and build on it.
<h1>Hello World</h1>
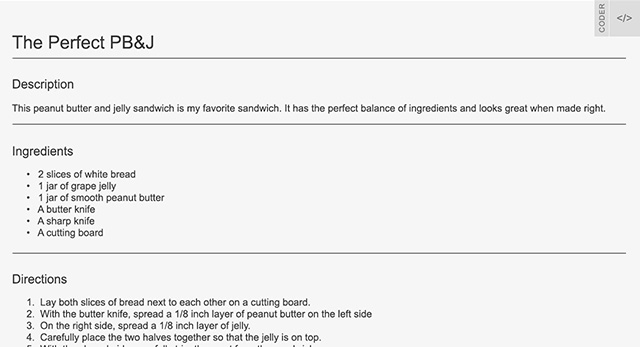
<h1>The Perfect PB&J</h1>
Now that we know how to change the content of tags, let’s change a few more and add some new ones to start putting together our recipe.
<p>Your html goes here.</p>
Ours looks like this:
You code should look like this:

Now our recipe title and section title are butting into one another. That’s no good. Let’s add a line between them to keep them separate and divide the recipe into distinct sections.
Between the <h1> and <h2> tags make a new line and add a single <hr /> tag.
It should look like this:
Remember, all tags need to be closed. There are, however, some elements that are simple and don't contain content. These tags close themselves, using the slash (/) at the end of the tag.
The <hr /> tag is one of those tags. HR stands for “Horizontal Rule” and it’s an HTML element designed to divide content on a page.
Save your code and take a look. See how the <hr /> line separates the title from the description?
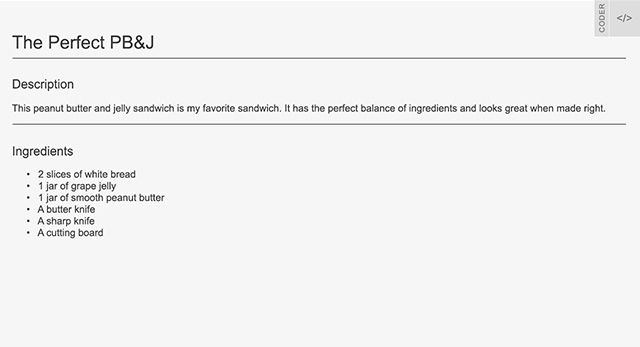
Any good recipe needs a list of ingredients. Fortunately HTML gives us an easy way to make list using tags.
Our code looks like this:
Now let’s add a new type of tag called an “un-ordered list.” An un-ordered list tag produces a nice list of things, each with their own bullet point. In fact, you’re reading an unordered list right now!
Un-ordered lists actually use two tags. One starts and ends the list. It looks like this <ul>. The other sits in between those tags and identifies a list item. It looks like this <li>.
Ours looks like this:
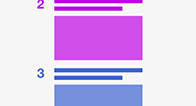
In the last step, we made an un-ordered list for our ingredients. Now let’s make an ordered list to describe each step we need to make our recipe. Ordered list look like un-ordered lists except they have numbers instead of bullets.
Our code looks like this:
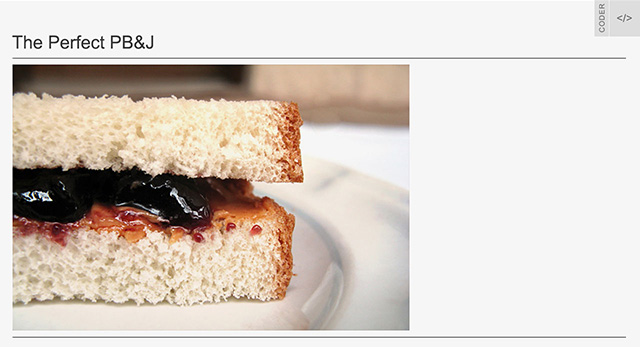
Our recipe has come together nicely so far. We have all the basic elements in place. What we need now is an image. So let’s add one. If you don’t have an image of your own you can use this one for now:

Drag it to your desktop or download it someplace where you can get access to it easily. We will be uploading it into Coder soon.
It should look like this. Notice the src="" part. That's an attribute of the img tag that will let us specify the image we want to load.
It should look something like this:
Here's an example:
Try adding height and width attributes to your <img /> tag. See what happens when you only use either the height or width attribute, but not the other. Did the image get squished or did it stretch evenly? Play around with different measurements until you like the way it looks on the page.
So far we’ve only been adding new code to the HTML section. This is the content of our project, the text and images that make up our recipe. The text we’ve added, the headings, the lists, and the paragraphs all have a default style applied to them. The browser is picking the type, size, and color of the font. Let’s customize it the way we want using CSS.
You might remember seeing “pagecontent” on the HTML tab. It’s the name of the <div> tag that all of our code is inside right now.
CSS is what we use to style HTML elements. Just like HTML tags, it needs to be written a specific way to work.
Generally CSS styles look like this, keep an eye on those curly braces. They are very important and mark the start and finish of a style:
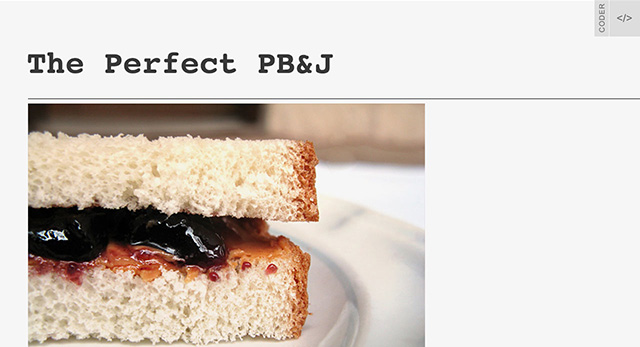
Now that we know a little about styles, let’s start writing our own. Let's begin by making our <h1> headings feel like a real headline.
Your code should look like this:
Save the code and take a look. That title should be big and bold now with a little more space around it. Note the 2em unit on line-height. We use px to specify size in screen pixels, but em is used to measure things based on the size of the font. 2em means make the line-height 2 times the size of the font.

Now let’s really call attention to this heading. Let’s add some color.
This is what our code looks like now:
You can use color names to apply colors in CSS. These are generic values, though and aren’t always exactly the color you want. If you want a little more control over color then you’ll need to use Hex values.
Hex values are codes that help a browser show color. They look like this: #FF0000. That’s the hex value for red. Hex codes are six digits long, and contain only the number 0-9 and the letters A-F.
Here are some other example hex values:
#00FF00 - only green
#0000FF - only blue
#C0392B - softer red
#16A085 - softer green
#3498D8 - softer blue
#D977D4 - pink
#F1C40F - yellow
#F39C12 - orange
#FFFFFF - white
#000000 - black
#999999 - grey
Instead of purple try adding a hex value into the color property and see what happens. Try changing the numbers as well to see what new colors you can create.
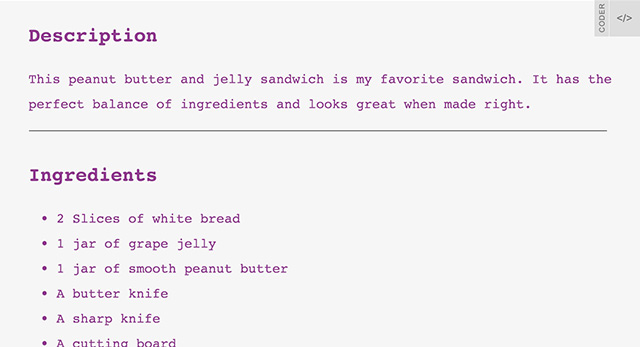
Now that we’ve styled our h1 we’ve got to style everything else. The good news is that we’ve actually finished most of the work. All we need to do now is copy the h1 style we’ve created and change a few things to create new styles for h2, p, and li. Let’s start with h2.
Our code looks like this:
Congrats, you’ve finished your recipe! It’s nicely laid out and easy to read isn’t it? Good thing, too. You’ve probably worked up an appetite with all this coding. Now you have an idea of what to make for lunch.
Now that we have our recipe, let’s see what else we can do with the skills we’ve learned.
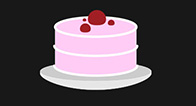
Maybe you don’t want a sandwich. Maybe you’re in the mood for some cake? Let’s rewrite the recipe to be your favorite meal, whatever it is. Try adding longer, more complicated steps. Maybe you need to add more sections?
Sometimes it helps to have a visual for each step of a recipe. Try adding images to each step that show the stages of the recipe.
You've gotten a taste, but there’s a whole lot more that you can do with CSS and HTML. Try these other coder projects to make more cool things and learn more useful stuff.
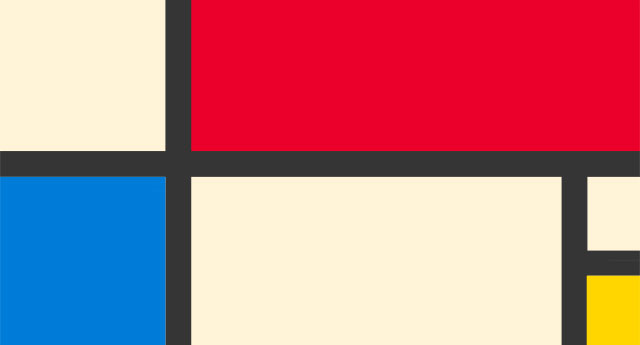
Paint makes a mess. Code is so much cleaner. Use this project to recreate a classic Modern artwork, Piet Mondrian’s Composition II in Red, Blue, and Yellow in your browser with CSS and HTML.
Open Project
Make a simple game to play with your friends and family. See if you can find all the penguins without waking the yeti!
Open Project