 Download Complete Project 4k | .zip file
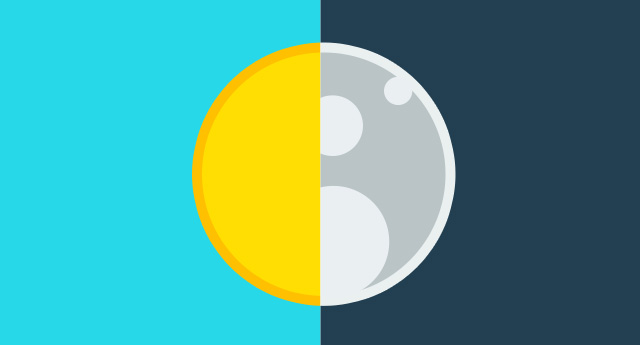
Ever wish you could control the universe? Well now you can pretend with this project. Change day into night and back again with the click of a mouse and learn a whole new programming language along the way.
A great project for: Sunbathers, night owls, and anyone that is looking to make big changes with the push of a button.
A big part of making cool web things is interacting with them. However, if you’re starting from scratch or haven’t made anything with CSS and HTML it might be better to start with some earlier projects and pick up the fundamentals of basic coding before we go any further.
This project introduces the concept of <div> elements and CSS classes. Knowing about these will help you complete Night & Day more easily.
This project will help you navigate Coder and introduces some of the fundamentals of HTML and CSS that this project will build on.
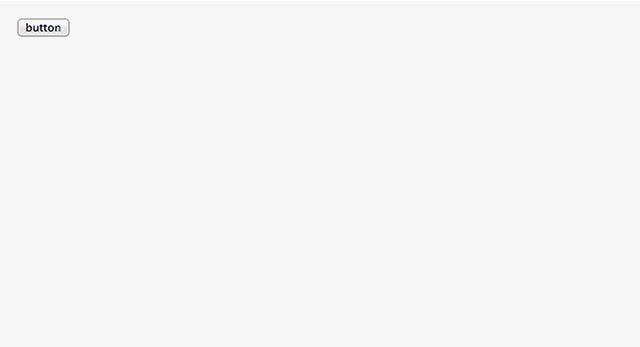
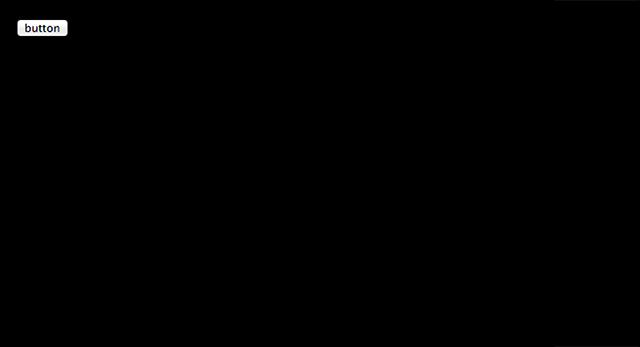
Let’s start with something a little different. Let’s make a simple button.
Our code looks like this:
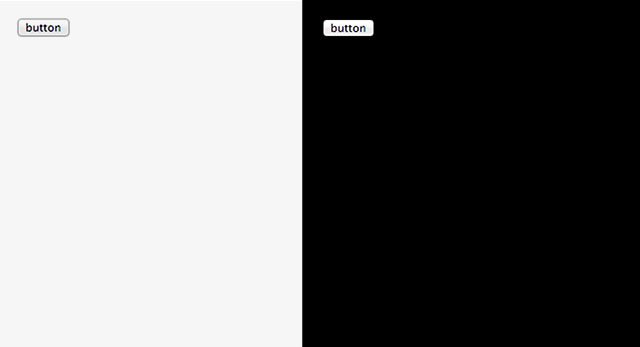
You can make buttons do pretty much anything like load images, animate objects, open new pages etc. However, for this project we want to turn night into day so we’ll focus on making that button change our background color first.
Our code looks like this:
So now we’re going to go someplace previous projects have not gone before: the JS tab. JS stands for Javascript. Javascript is a programming language that allows you to control how your application functions. You can use Javascript to respond to mouse clicks, perform calculations, or animate things on the screen.
Javascript is different from HTML and CSS in a big way. You might have noticed that HTML and CSS show exactly what’s written in between their tags and braces. They’re static, once they’re set a certain way, they stay that way until you go back and change them. Javascript, on the other-hand, can actually think. It can look at the what’s going on in a project, (what the mouse is doing, for example) and make calculations or run logical responses that change what’s written in the HTML and CSS. So with Javascript, you can change what things look like or how the they behave.
In more advanced projects, Javascript will actually do complex math and calculations to do things like challenge you to a game, animate shapes and Javascript is pretty powerful. It’s what we will use to make our simple button change our background-color.
Take a look at the code that’s already in the JS tab.
It should look like this:
This probably looks kinda weird to you. Its syntax, how it’s written, is different than what we’ve been dealing with so far. So let’s walk through it.
What is happening in this text is actually what’s called a function and you can read it a little bit like a sentence if you know how.
document is a variable in javascript that gives you access to the objects and content within the web page you're viewing.
$(document).ready is an event that occurs on our document when it is fully loaded and ready to go. Quite often, we want to wait for a page to finish loading before we use javascript to manipulate its contents. The ready event makes it easy for our code to start working at just the right moment.
function() is how we define a code routine that can be run in javascript. In this specific scenario, it marks the beginning of what we call a callback, which is a function that gets called when an event (like the ready event) happens.
The curly braces, { and }, are also very important. They mark the beginning and the end of the function, and without them, your code won't run correctly. They are similar to the tags in HTML and the curly braces in CSS. Between these curly braces is where we will be writing our own code that will make that button do cool things.
If you read this code out as a sentence it would sound something like this: When the document is ready (fully loaded) then do the actions inside the braces.
To sum it up, this function waits for the web page to be ready for us to do our work. It’s key to all of our web projects that use Javascript because it’s what establishes that our HTML elements exist on the page, before we start to manipulate them in code. So don’t delete this. We will be writing our code inside of it.
In programming, there are usually many different ways to get the same thing done. Instead of writing everything from scratch, we're using a handy tool called jQuery to help us with a few common tasks.
jQuery is what’s called a library, and in Coder it’s pre-loaded in the HTML page. If you go to the <head> tag and open it up you’ll see a line of code that that loads the jQuery library automatically:
It looks like this:
Loading this jQuery library gives us easy access to a whole bunch of useful things, such as events, CSS selectors, and animation effects that will make doing cool stuff simpler and much quicker than writing it out in raw javascript.
When you see $( ) wrapped around something, like around our document variable above, you're looking at jQuery. jQuery encapsulates HTML objects with functionality that allows these objects to be easily manipulated with code. You can do this without jQuery too, but it can sometimes be a bit more difficult. We will be using a handful of jQuery features to help keep our Night & Day project simple.
That took a while didn’t it? Now let’s make that button do something! You got the button, you’ve got the class you want to apply, you’ve got the JS tab open and you understand a tiny bit how it works. Let’s go!
Our first line like this:
All our code looks like this right now:
Right now our button does one thing then stops. Let’s change that. Remember how we said that Javascript can see what’s going on and actually think for us? Well let’s give it something to think about and use rules and words like “if” and “else” to turn our button into a toggle that can switch between black and white. We will be creating a function that checks to see if the body has a certain class, if it does, it will remove that class and add a new one, if it doesn’t then it removes and adds the inverse classes.
It looks like this (we will be putting new stuff in the curly braces and parentheses):
Our code looks like this:
Our code looks like this:
Our final code looks like this:

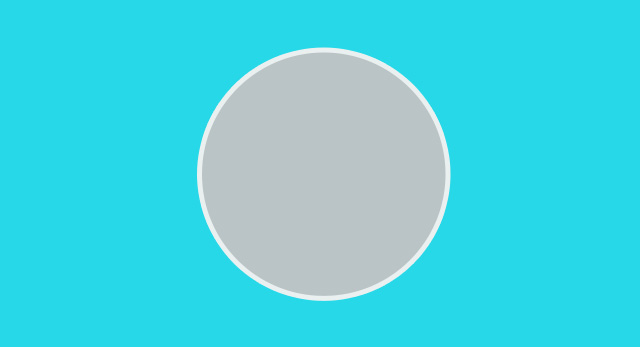
Alright, now we have all the knowledge and code we need to turn night into day and back again! However, we need to step back a bit. What we’ve made up to this point was a prototype, it has the basics but it doesn’t really look that good. We’ll need to change some elements to get to where it needs to be. We’ll begin by getting rid of that default button we’ve created and making our own, much nicer-looking, button using a plain-old <div>.
Our code looks like this:
Our code looks like this now:
Our HTML looks like this:
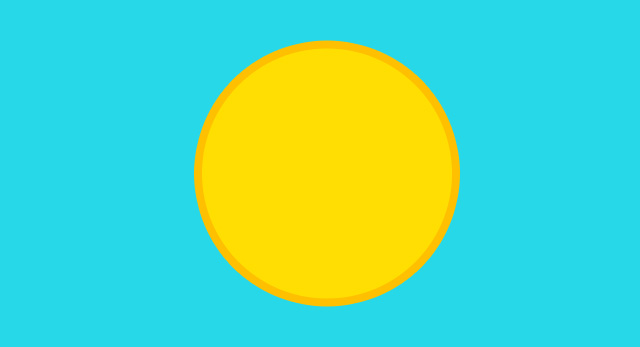
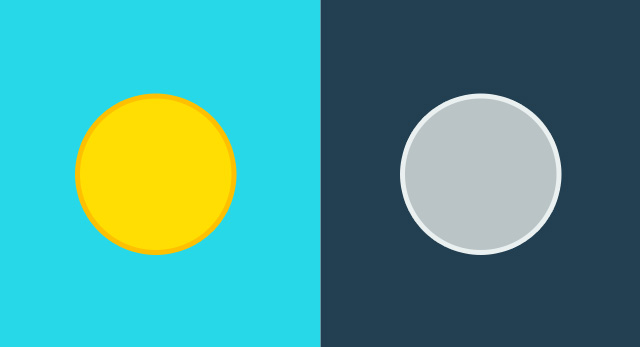
Now let’s make the CSS classes that will turn our #orb into the .sun and .moon and our #sky into .day and .night.
Our code looks like this:
Our code looks like this:
Our code looks like this:
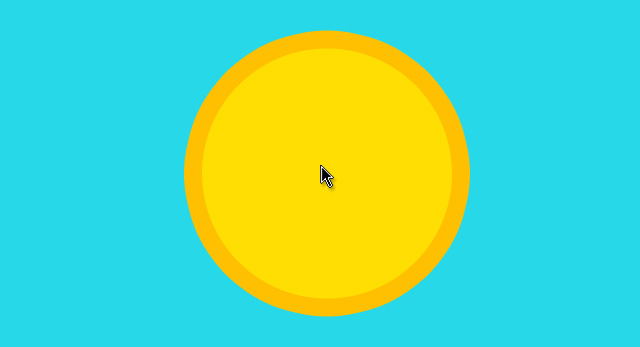
Not all interactive elements need to be done in Javascript. CSS can also style links and button with properties like “hover” (what it looks like when you mouse over an object), “active” ( what it looks like when you press or click down on an object) and “visited” (what it looks like when a object or link has been clicked). Let’s add a hover to our .sun and .moon classes to show that they are clickable.
Our code looks like this:
Now let’s get back into that Javascript. It should be straight-forward since will be reusing the code we already wrote. We just need to change some names!
Our code looks like this:
Now let’s do the same thing to the night sky.
Our code looks like this:
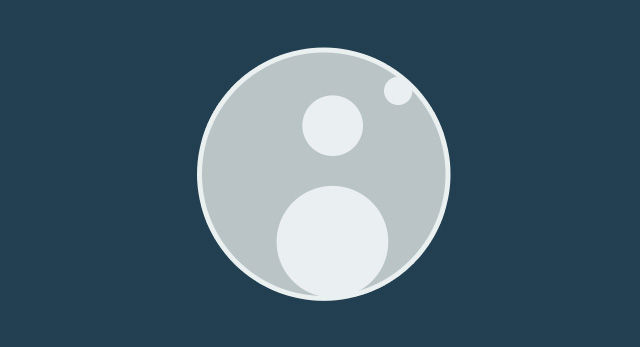
Now we’ve got a pretty good sun and moon going and can switch between night and day with a click but something doesn’t feel right. Let’s make our moon a little bit more “moon-like” and with a few more circles for the lunar mare, or moonspots, that make up the what some people call the Man in the Moon.
We will be making them the same way we made our original #orb. But instead of toggling between two styles we will simply add and remove one. The catch is that we will be doing it to three different objects.
Our first moonspot looks like this. You can use this to make the others:
Our class looks like this:
Our HTML looks like this:
Our Javascript looks like this:
That’s it! You’re done. How did it turn out? How does it look? How does it feel to have so much power?
Now that you can change day to night, let’s see what else we can put under the control of your clicks.
Blue and black do not a sky make. See if you can add clouds to the day and stars do the night. Maybe there’s some cool photos on the NASA site that would work better than just colors for the sky? HINT: Use the CSS background-image: property to place a picture instead of color.
One moon and one sun? How predictable. Think intergalactic and put some more celestial bodies in that sky. Why not two moons and three suns? 10 moons and two suns? Make it a different solar system out there.
A day is 24 hours and within those hours are so many more times than just “night” and “day.” See if you can make our #orb button cycle through a purple evening sky or a bright orange morning in addition to the day and night sky styles we’ve already created. HINT: you can use “else if” in if/then statements to make more sophisticated logical conditions.
Having fun with Javascript? Try making a musical instrument or creating a digital clock with the projects below.
Let’s turn it up. This project will transform your browser into a simple instrument that you can use to make music.
Open Project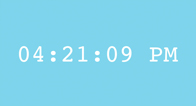
What time is it? You’ll finally be able to answer that question after you’ve built this simple clock.
Open Project