 Download Complete Project 4.7mb | .zip file
Let’s turn it up. This project will transform your browser into a simple instrument that you can use to make music.
A great project for: Musicians, music lovers, or anyone that has a song in their heart that they want a computer to play.
You’re probably ready to start playing but make sure you’ve got the skills you need to start this project or your hard work might fall flat.

This project will introduce you to the button behaviors and basic Javascript skills used in this projects to make our musical boxes work.

You’ll need to download music_notes.zip if you want your music box to play.
Let’s start by downloading the audio files we will need to build these music boxes. Here's a set of pre-made note files that you can download as music_notes.zip.
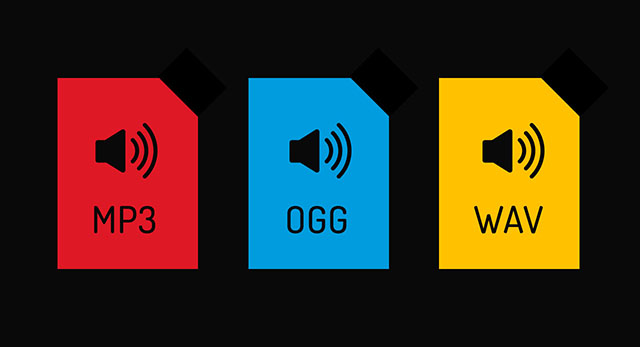
Once you’ve downloaded the zip file make sure it’s in a place you can find it and open it to get at the files inside. You should see a bunch of files with types like “mp3,” “ogg,” and “wav.”
Let's get all those files into your project:
Alright. Let’s start with the exciting part and get those audio files working in our project.
Our code looks like this:
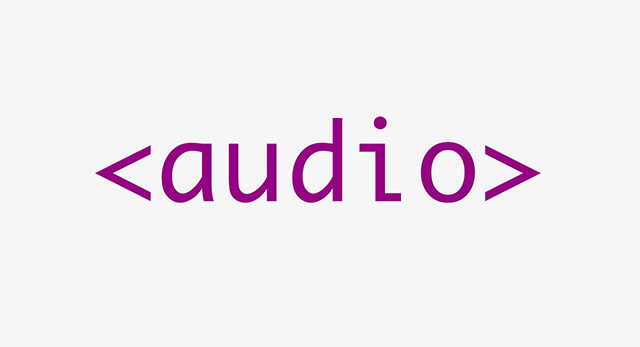
That audio tag is going to be the key to the whole project. It’s a special type of element that allows us to play audio files in web pages. We’ll fill it with all the files we’ve uploaded in the next step.
Now that we’ve made our audio tag we need to fill it with audio files. This is where things can get a little tricky.
The problem is that there isn’t one audio file type all browsers can play. Instead we must offer three different audio files that we know various browsers will be able to handle. Each one of the files will make the same sound but they have been converted to different formats that are suitable for different browsers. By providing different files, we make it more likely that someone will be able to hear and play with our music boxes project.
So now that we know why we have so many different file types, let’s add them to our <audio> tag. We’ll do it by defining three different sources for our audio element that a browser could pick.
Go ahead and add two more <source> tags to hold the OGG and WAV files for the C note sound. The audio types for these will be "audio/ogg" and "audio/wav".
Once you’ve added those files. Add the attribute “controls” to the inside of the opening audio tag. This will add audio player controls to our file and let us test the sound in preview mode.
Our code looks like this. If you've named your project differently, your src paths will be slightly different:
Now pretty much anyone with a modern browser should be able to hear this note! So let’s test it out.
You can use this method to quickly play audio files in your projects. It’s pretty basic and not very cool looking. We want to make a musical instrument out of these sounds. To do that we’ll need to do a little more work.

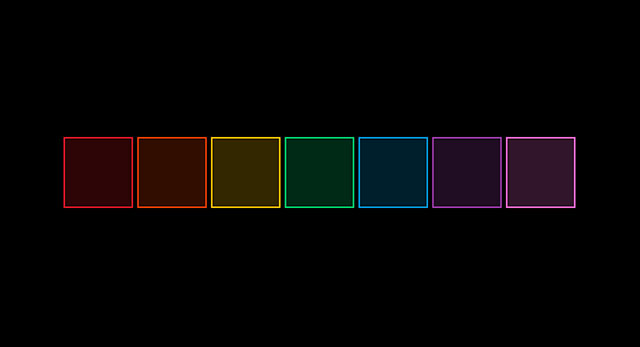
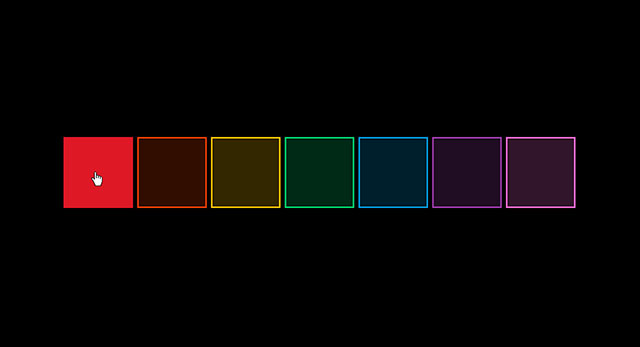
Let’s start by making the boxes that will act as our “keys.” We will be giving each one a unique color and style so that we can tell them apart. When we finished we will have something that looks like the picture above. Each box will eventually become a button that plays a single note.
Our code looks like this:
Alright, Now we have all our divs in place. Let’s style them!
Our code looks like this:
Our code looks like this:
Our code looks like this:
Now that we’ve got all our #instrument and .box styles, let’s create styles that will individually color each of our boxes.
The code for our note boxes looks like this:
Take a look at your preview. How does your music box look so far?
Now that we’ve made our music boxes, let’s give them some properties that make them more fun to click and strum.
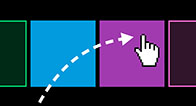
Let’s begin by adding some hover effect to our buttons that will brighten their background color up a bit as well as turn our cursor into a little finger instead of an arrow. Let’s start with #c id.
The code for our note boxes looks like this:
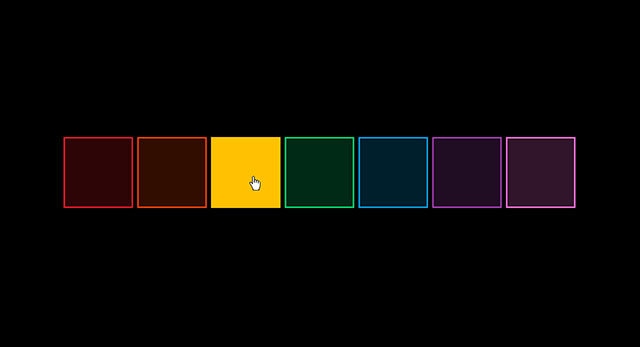
Test it out on preview. See how the box lightens up and the color changes when you hover over it?
Go ahead and make hover classes for each of the note boxes. You can add them right above their parent style to help keep track of them.
You can use these values for the hover background-color:
Now let’s make our boxes brighten all the way up when we click them. To do this we will add a new pseudo class called active.
Our code looks like this:
Go back to the preview mode. Click on the first box. See how it brightens up all the way when its pressed? That’s what active is doing. Go ahead and make active pseudo-classes for all the note boxes that brighten them up to match their border colors when clicked.
Alright. We’ve got all the pieces in place! Now let’s add a little Javascript and get this thing making music.
Let’s start with our first note, the c note.
Our code looks like this:
Our code looks like this:
Now that we’ve got a variable with our audio file, let’s make it play.
Let’s use jQuery to call out our #c <div> and make it play our cNote variable every time it’s clicked.
To do that start a new line and add the following text:
This will turn that #c div into a true button that will run a function as soon as the <div> is pressed with your mouse button.
Try clicking it twice, quickly. You’ll notice that the audio file will play all the way through (about 8 seconds) before we can click it again. That’s no fun. Let’s add some code to change that.
Our code looks like this:
currentTime is a property that will scrub back to a certain point of a media file, measured in seconds. In this case we’re scrubbing it back to the beginning, or 0 seconds. This will happen every time the button is clicked and just before the file plays.
Go ahead and add ids, variables and .mousedown functions for the six other notes and your music player will be finished!
You can copy the code we just wrote and swap in new variable names and IDs.
Once you’re finished enjoy your music player! See what kind of songs you can play.
Making music is fun. See you if you can make your new instrument a little more interesting with the exercises below.
Clicking for each note is cool. My what if we change the interaction to .mouseover so that the mouse strums the surface?
After you’ve changed the interaction to .mouseover, can you rearrange and duplicate the notes to make them into a melody or chord? Try changing their size and position as well.
Music notes are only one type of sound. Try finding other audio clips, or recording your own and adding them to the board. Maybe add pictures of where the sound came from to the boxes as well.
Like making interactive things and programming with Javascript? Try these other coder projects to make more cool things and learn more useful stuff.

Ever wish you could control the universe? Well now you can pretend with this project. Change day into night and back again with the click of a mouse and learn a whole new programming language along the way.
Open Project
What time is it? You’ll finally be able to answer that question after you’ve built this simple clock.
Open Project